In this article, we will explore the features of FluentValidation in .NET 6. FluentValidation is a popular validation library for .NET applications. It provides an easy and intuitive way to define validation rules for your models. FluentValidation is highly configurable, which makes it suitable for both simple and complex validation scenarios. Validating user input is a crucial part of building web applications. It ensures that the data submitted by users is accurate, consistent, and secure. .NET 6 comes with several built-in validation attributes that can be used to validate user input. However, these attributes can be limiting, especially when dealing with complex validation rules. This is where FluentValidation comes in. FluentValidation is a .NET library that allows developers to create validation rules that are more expressive, reusable, and maintainable than the built-in validation attributes.
Let’s get started which will help us to implement fluent validation in our project.
Step 1 - Install FluentValidation:
Install the FluentValidation.AspNetCore package using NuGet. You can do this by opening the Package Manager Console in Visual Studio and running the following command:
Install-Package FluentValidation.AspNetCore
Alternatively, we can add the package by using Visual Studio. For that, right-click on the project and select the Manage NuGet Packages option from the context menu. Given below screenshot will help you to install the package.
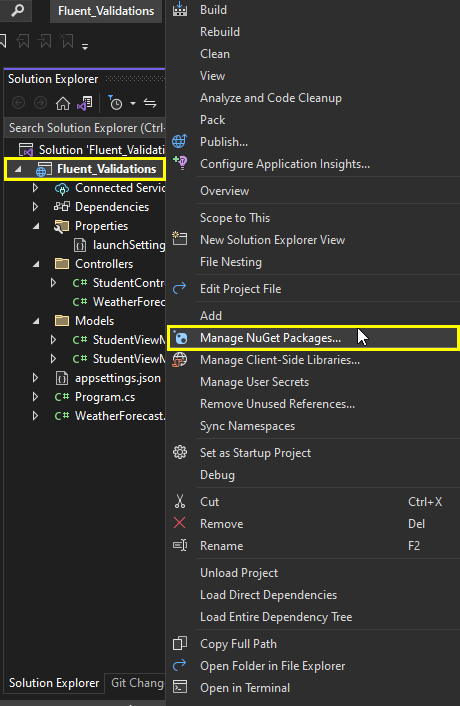
Visual Studio – Manage NuGet Packages Option
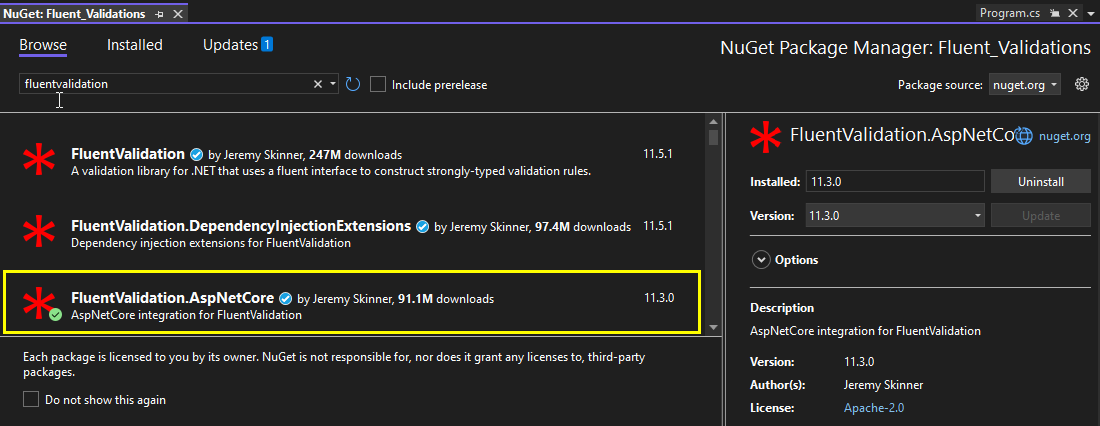
Then search for the package FluentValidation.AspNetCore and then install it.
Step 2 - Configure FluentValidation:
Go to Program.cs and the services in the container with the following code:
var builder = WebApplication.CreateBuilder(args);
// Add services to the container.
builder.Services.AddControllers();
builder.Services.AddFluentValidationAutoValidation();
builder.Services.AddValidatorsFromAssembly(Assembly.GetExecutingAssembly());
Step 3 - Create a model:
To use FluentValidation, you need to create a validator class that defines the validation rules for your model. In this step, we will create a simple model that we will use for validation.
For this article, we will create a StudentViewModel class with three properties: FirstName, LastName, and Age. Let's say you have a simple model like this:
namespace Fluent_Validations.Models
{
public class StudentViewModel
{
public string FirstName { get; set; }
public string LastName { get; set; }
public int Age { get; set; }
}
}
Step 4 - Create a validator:
Now, we need to create a validator for our StudentViewModel model. The validator will define the rules for validating the FirstName, LastName, and Age properties. Inside the Validation folder, I have added one class StudentViewModelValidator. Given below is the implementation through the following code:
using FluentValidation;
namespace Fluent_Validations.Models
{
public class StudentViewModelValidator : AbstractValidator<StudentViewModel>
{
public StudentViewModelValidator()
{
RuleFor(x => x.FirstName).NotEmpty().WithMessage("Please specify a first name");
RuleFor(x => x.LastName).NotEmpty().WithMessage("Please specify a last name");
RuleFor(x => x.Age).InclusiveBetween(18, 60).WithMessage("Age must be between 18 and 60");
}
}
}
As you can see we inherit AbstractValidator<T> from FluentValidation where <T> is the class/model we would like to validate, before moving on.
The validation rules always have to be defined inside the constructor of the class. Each time you would like to create a new validation rule, you simply use the RuleFor method and pass a lambda expression, where you specify what property you would like to validate.
Step 5 - Validate models in the API endpoints (Controller) :
using Fluent_Validations.Models;
using FluentValidation;
using Microsoft.AspNetCore.Http;
using Microsoft.AspNetCore.Mvc;
using System;
namespace Fluent_Validations.Controllers
{
[Route("api/[controller]")]
[ApiController]
public class StudentController : ControllerBase
{
private readonly IValidator<StudentViewModel> _validator;
public StudentController(IValidator<StudentViewModel> validator)
{
_validator= validator;
}
[HttpPost]
public IActionResult CreatePerson([FromBody] StudentViewModel student)
{
// var validator = new StudentViewModelValidator();
var result = _validator.Validate(student);
if (!result.IsValid)
{
return BadRequest(result.Errors);
}
// Perform your action here
return Ok(student);
}
}
}
In the CreatePerson method of the StudentController, we are creating an instance of the StudentViewModelValidator and using it to validate the student object. If the validation fails, we return a BadRequest response with the validation errors. If the validation succeeds, we return an Ok response.
When using FluentValidation in our controller, we don’t have to specify what validator we would like to use, as the middleware we registered earlier will pick up the right validator automatically.
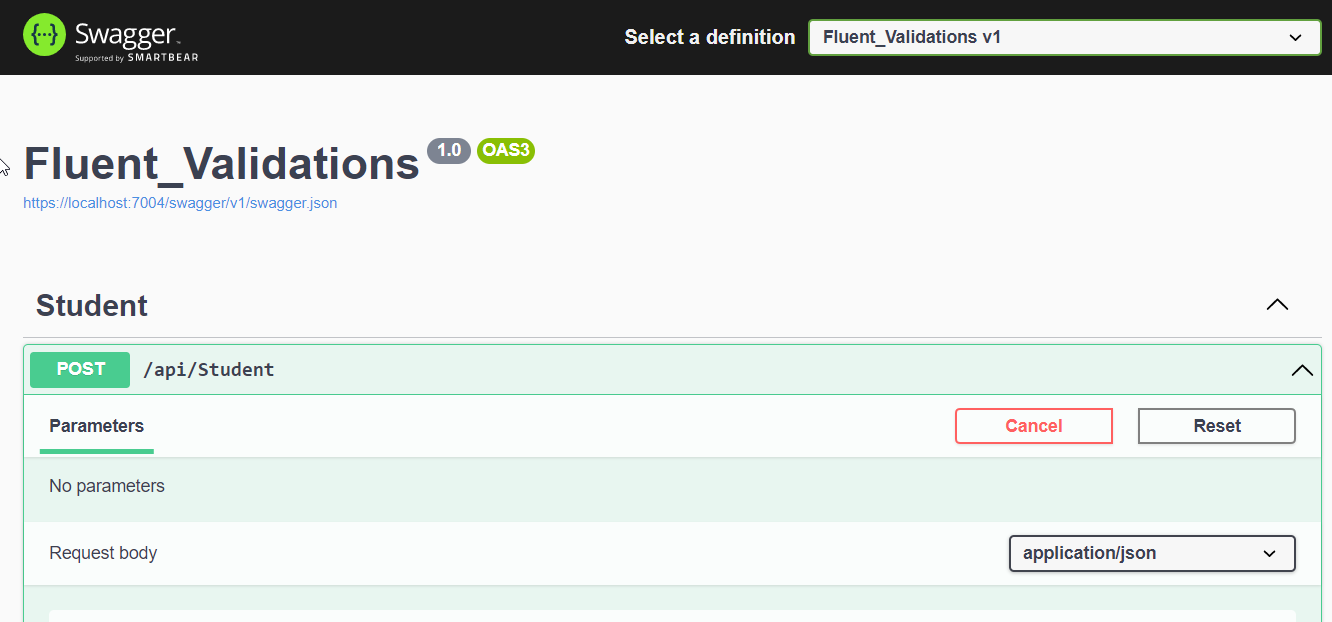
Step 6 - Test the API:
To test your API, All you need to do just run your project, and after the successful execution of your project will open the browser into Swagger as we have integrated Swagger into this project.
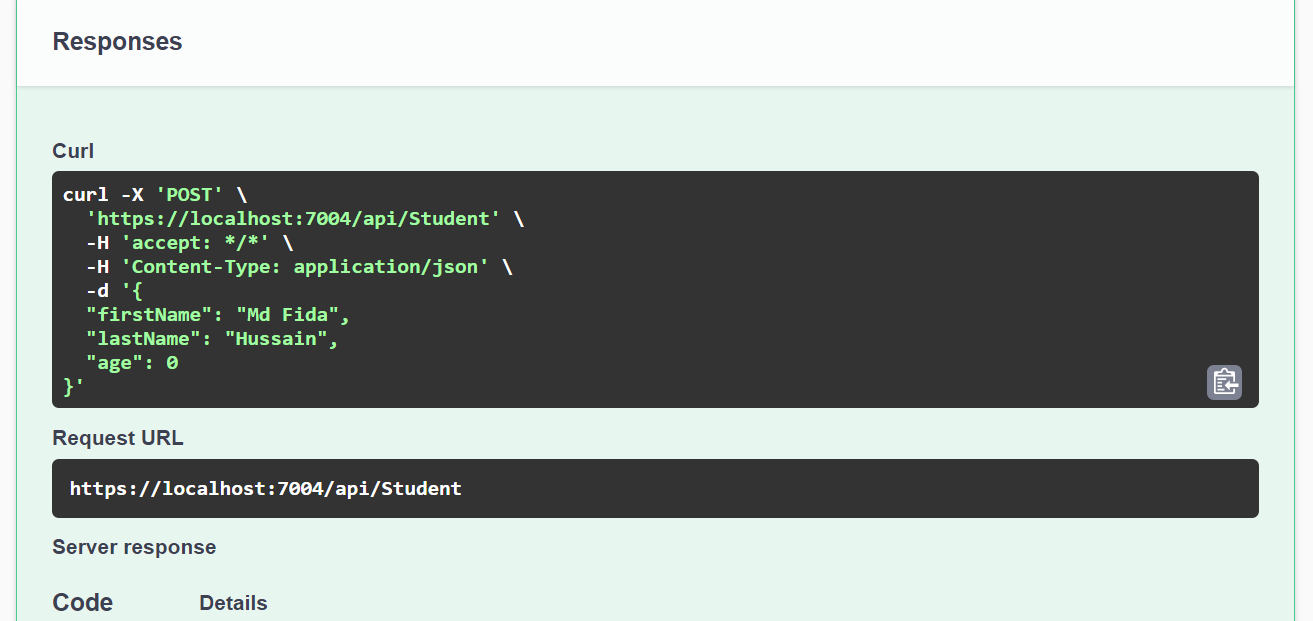
As we have three properties, so we will keep our input data as given below.
"firstName": "Md Fida",
"lastName": "Hussain",
"age": 0
Running the solution.
Run the solution and open Swagger to perform the POST:
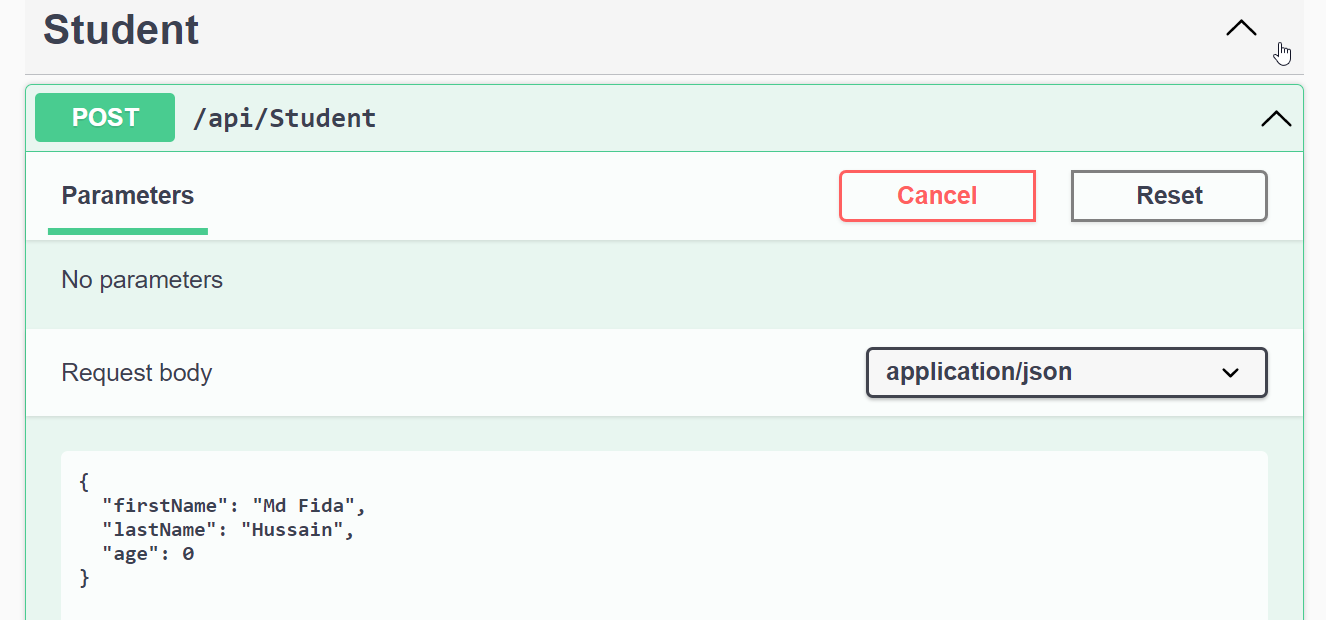

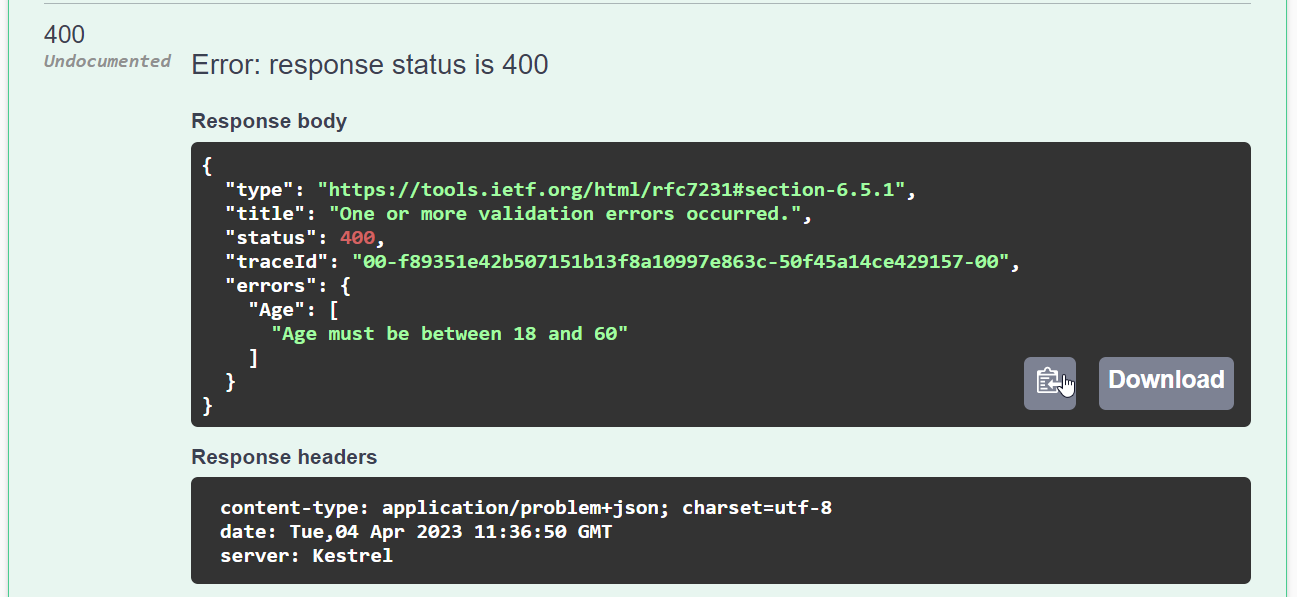
Because Age was not provided when age must be greater than 18, The API should return a BadRequest response with the validation errors. Hence an error message occurs:
What are the benefits of FluentValidation in .NET 6 ?
FluentValidation is a popular validation library in .NET that provides a fluent interface for defining validation rules. In .NET 6, FluentValidation has several benefits that make it a powerful and easy-to-use library for validating input data:
Fluent API: FluentValidation provides a fluent API for defining validation rules. This makes it easy to read, write, and maintain validation code, especially when you have complex validation rules.
Improved performance: FluentValidation in .NET 6 has improved performance, which means that it can handle large sets of data more efficiently and quickly.
Integration with ASP.NET Core: FluentValidation can be integrated with ASP.NET Core, which means that it can be used to validate data in HTTP requests and responses.
Customizable error messages: FluentValidation allows you to define custom error messages for each validation rule. This makes it easier for users to understand why their input data was rejected.
Cross-property validation: FluentValidation allows you to define validation rules that span across multiple properties. This can be useful when you need to validate data based on its relationship with other data.
Support for multiple validation rules: FluentValidation allows you to define multiple validation rules for a single property. This gives you more control over how input data is validated.
Conclusion:
Overall, FluentValidation in .NET 6 provides developers with a powerful and easy-to-use library for validating input data. Its fluent API, improved performance, integration with ASP.NET Core, customizable error messages, support for cross-property validation, and multiple validation rules make it an ideal choice for .NET developers. For creating strongly-typed validation rules, one of the most popular.NET libraries is FluentValidation. The Data Annotations in your application can be replaced by this library. The complexity of validation is removed by offering a simple method for developing validation rules for the attributes in your models/classes.
Hope you enjoyed reading this article and found it useful. Please share your thoughts and recommendations in the comment section below.
Share This Post
Support Me