Deploying ASP.Net Core Web API/REST API in a server can be costly compared to deploying in AWS Lambda as later provides many benefits compared to deploying in a typical server.
- In a server, you have to pay the price of it even if your application is not utilizing the entire server space whereas deploying in AWS Lambda you don't manage or provision any servers and you pay as per the usage of the API like currently, AWS charges only $0.20 per million requests.
- AWS Lambda supports Auto Scaling which means you don't have to scale up the number of servers or increase server space if your application usage increases as AWS Lambda takes care of these infrastructures.
- AWS provides built-in support for logging and monitoring through AWS Cloudwatch.
Let's jump to see how can we deploy ASP.Net Core Web API in AWS Lambda.
Step 1: First we need to deploy AWS Toolkit for Visual Studio using this link.
Step 2: Once you install
AWS Toolkit for Visual Studio you can see the below template available while creating a project.

Step 3: Create a new project using the "ASP Serverless Application (.Net Core - C#)" option then you will need a blueprint from the options displayed in the below screenshot
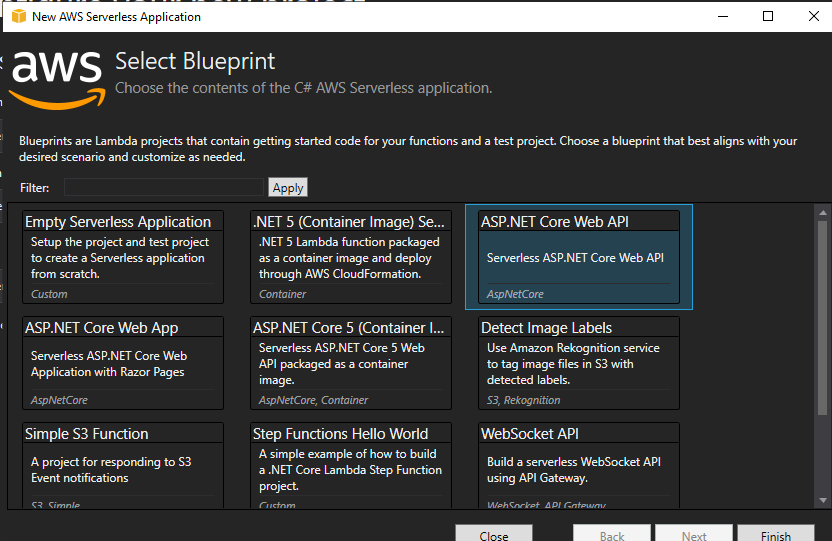
Step 4: Select ASP.NET Core Web API and create the project.
Step 5: Once you created the project right-click on your project and you will get the Publish to AWS Lambda option.
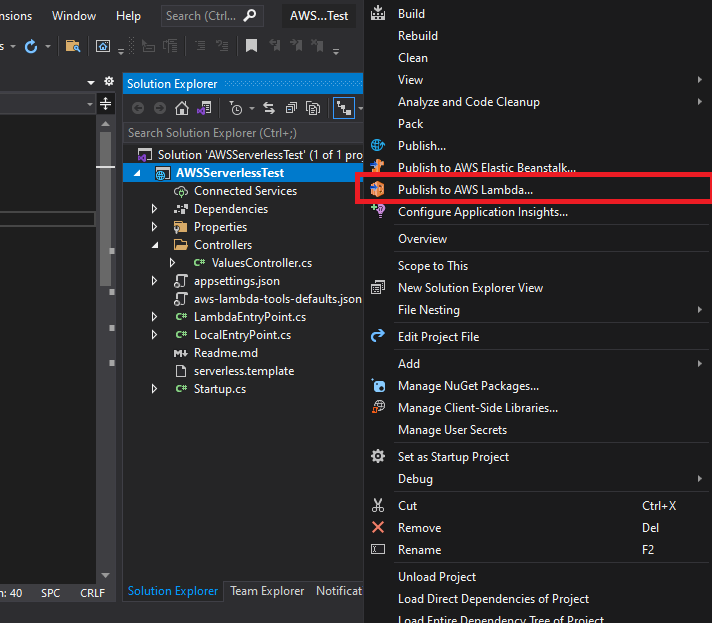
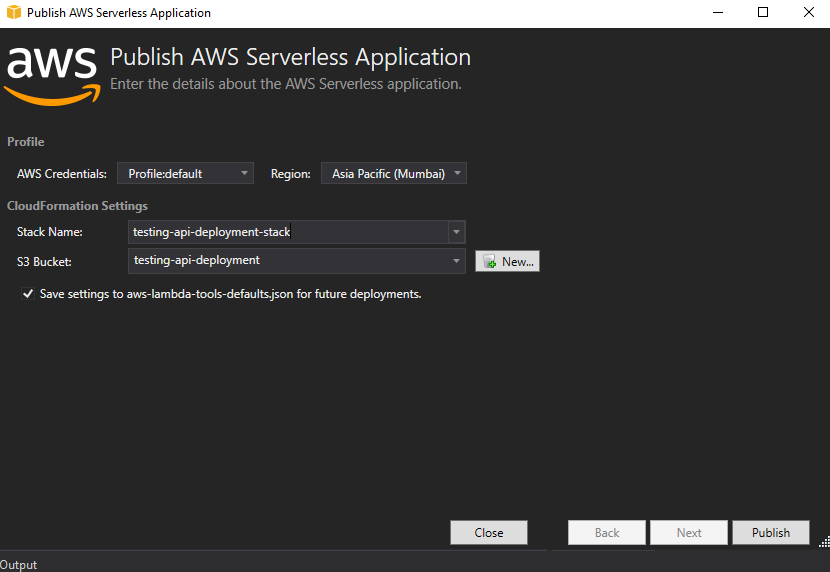
Step 6: If you click on Publish to AWS Lambda option then a window will open where you will get many options to select a region to deploy, Profile, S3 bucket, and Stack.
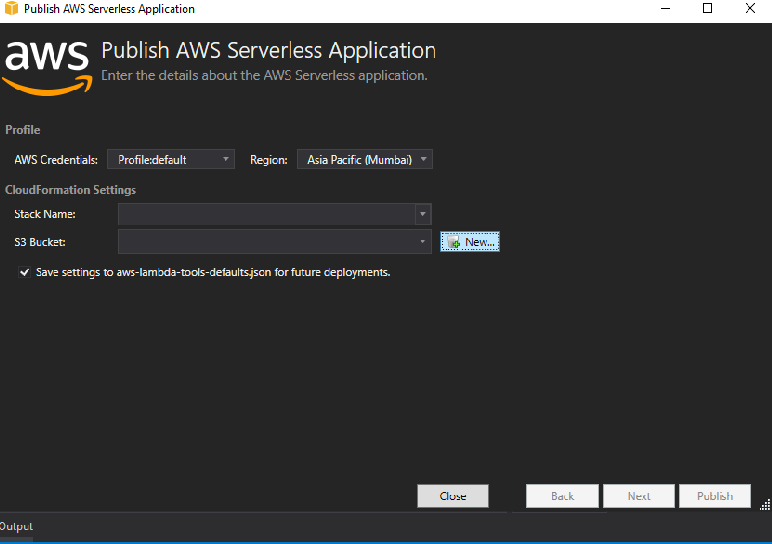
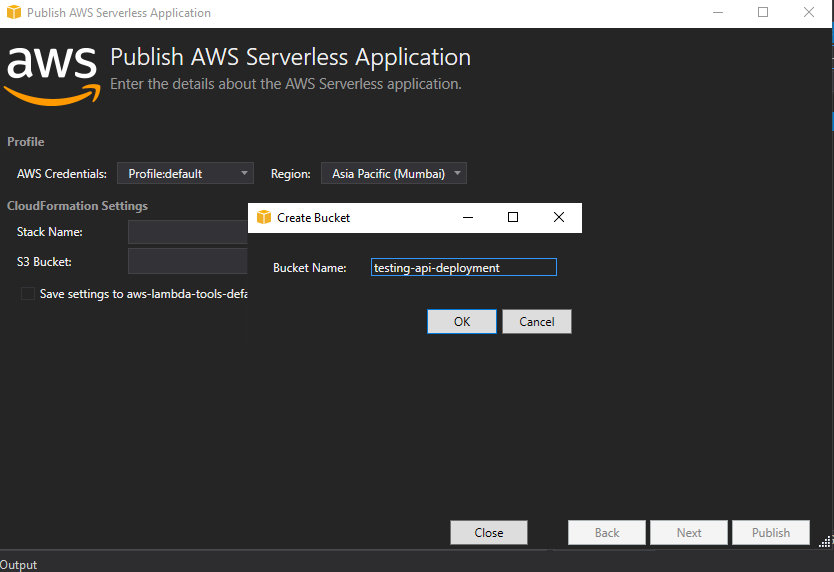
Step 7: Give AWS S3 bucket name and Stack Name as per your choice like below
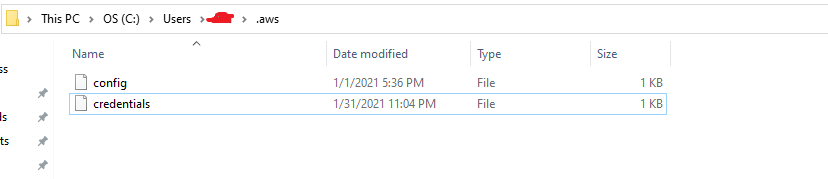
Step 8: Please note you need to configure the default profile in your local in a credentials file in the .aws folder in your local user folder.
Step 9: Once you click on Publish button you can see the progress of the deployment and once deployed you will get the URL in the deployment window.

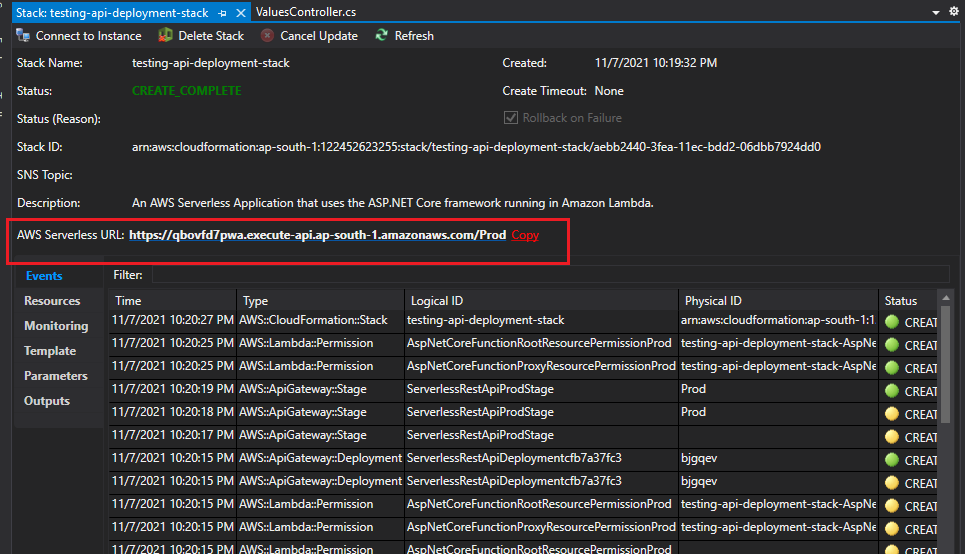
Once deployed you need to test any endpoint to check you are getting the desired output from the endpoint and in this case, I will just check the default endpoint.

Hope this article will make it super easy to deploy REST API in AWS Lambda.
Share This Post
Support Me